Project Souls-like
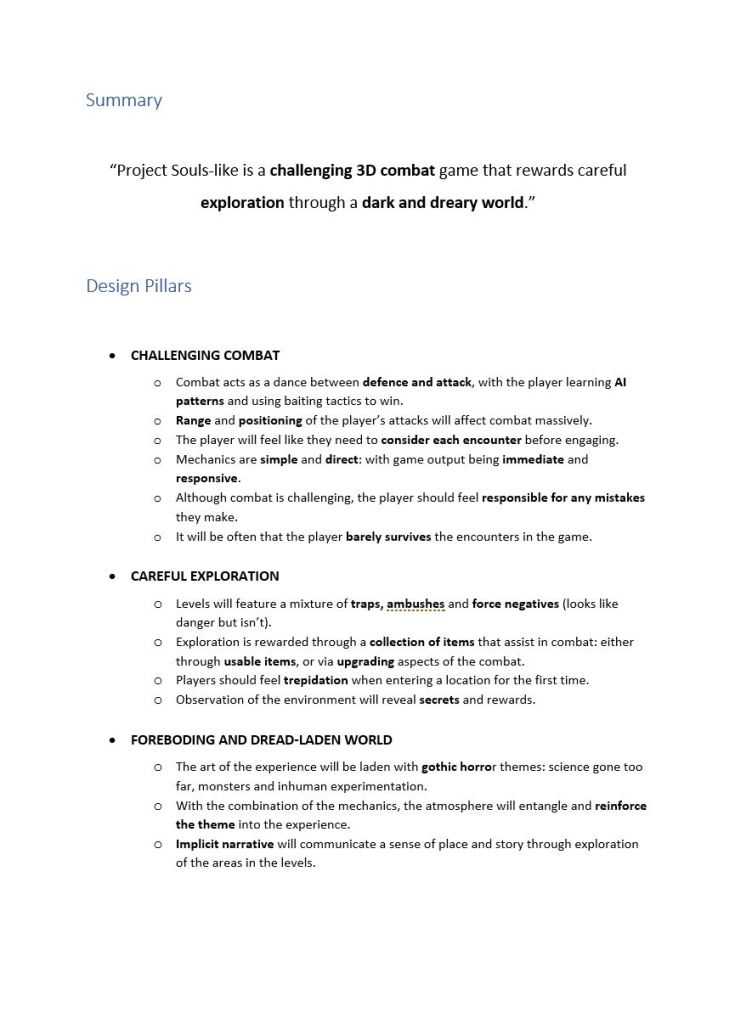
Project Souls-like is a challenging 3D combat game, that rewards careful exploration through a dark and dreary world
| Date | Sept 20 to April 21 | Role | Game/Technical Designer |
| Team Size | 1 | Engine | Unreal Engine 4 |
Art Asset packs used in the project can be found here
Highlights
- Developed an input queue system, that enables comfortable and intuitive control of the player character
- Created tools to assist with balancing the range and arc of the combat mechanics, as well as tools to assist with the level design.
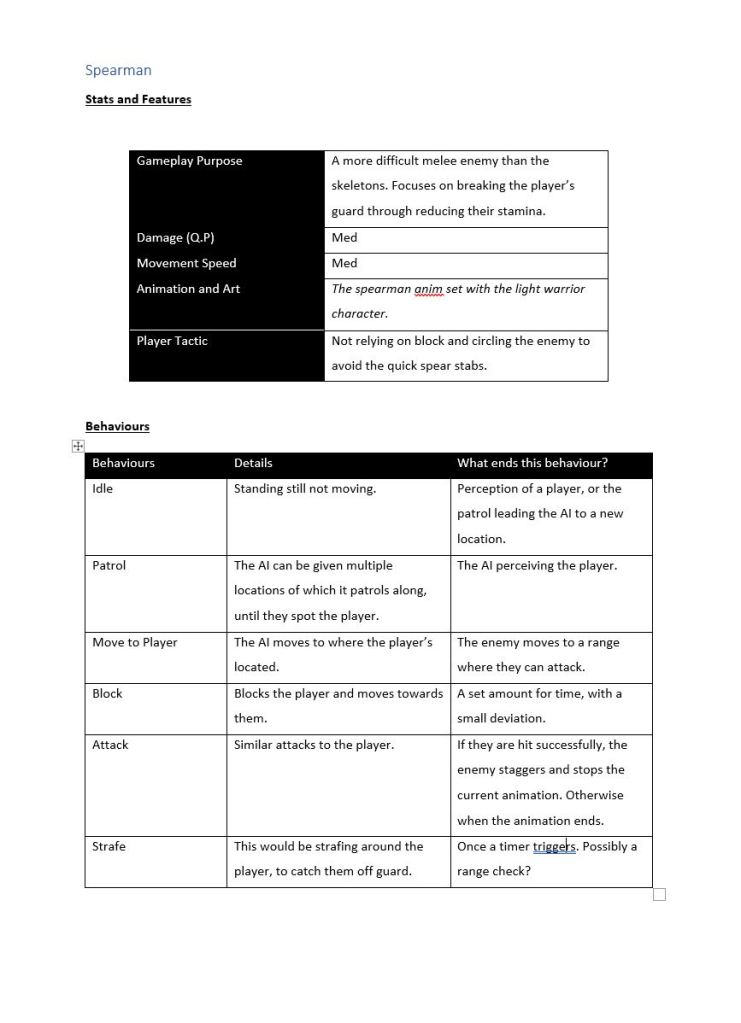
- Designed the AI, and implemented it into the engine by use of behaviour trees and the perception system.
- Iterating and refining the project from playtesting.
- Implemented the animation for the player character and enemies.
Documentation


Project Details
This project was born of my love for the Souls-like genre and From Software’s combat systems. I wanted to find out what it was that made these game’s feel so good to play, in terms of the character intuitive and responsive in the player’s hands. I decided that spending my final year of Uni learning elements of technical animation, combat design and combat AI would be fantastic way to more about UE4, as well as general design.
Input Queue System
I started first by researching Dark Souls 3. I managed to enable debug collisions for the game that allowed me to see how they triggered their damage events with overlaps.
I also recorded my thoughts with the input on the controller, and through this learnt that the game uses an input queue system to record what the player’s input was during an already playing action. This means that the player never feels like they’re waiting for the opportune moment for the next input, making it extremely easy to make decisions.
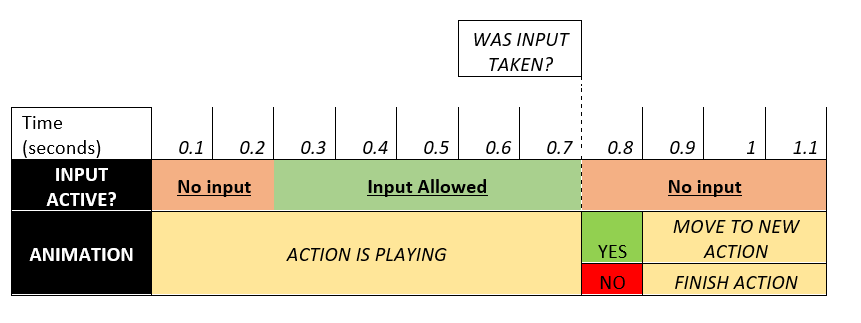
From here, I built an extremely basic prototype of this system in action, with each input following after the previous montage was finished. In each instance, an action is selected, which plays and listens for a second input. Once that action is finished, the second input action is performed.
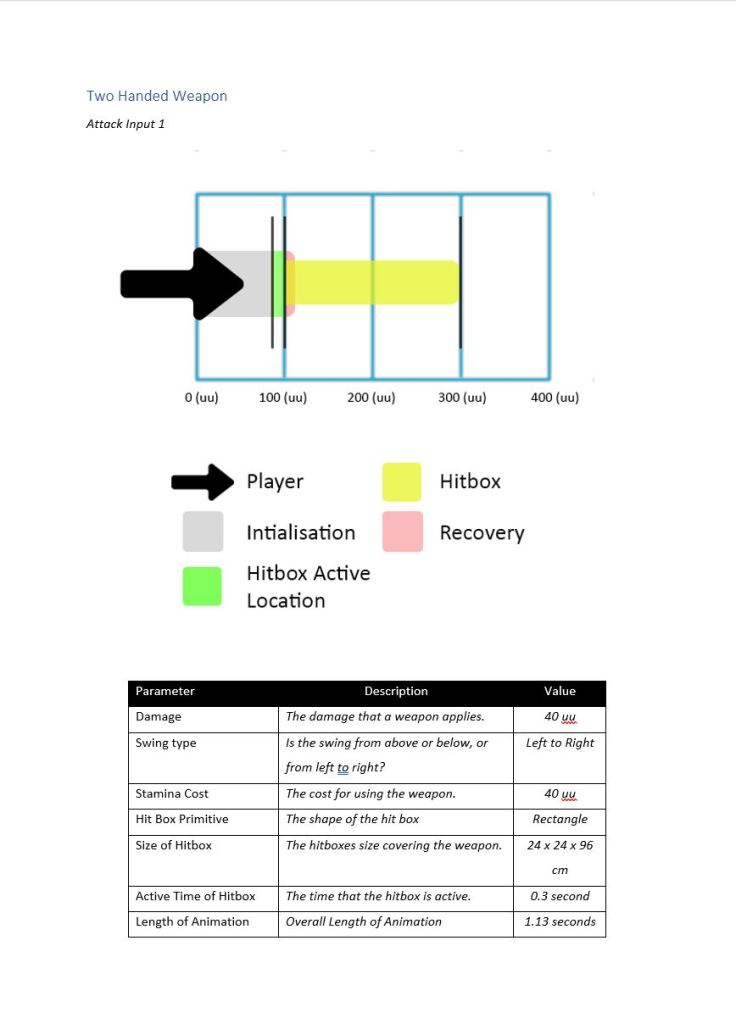
Range and Arc Telemetry
I went further and developed a way to prototype the range and movement during an attack. It was extremely primitive, but was effective at showing me the full range and arc of an attack.
Data Handling for Animation Montages
My combat required that each animation hitbox had it’s own damage values. So for this reason I created a system that drew the damage values via a data table, from referencing the current section, as well as the montage that was playing. This data was then fetched from the pawn at the time of the animation notify triggering in a montage.
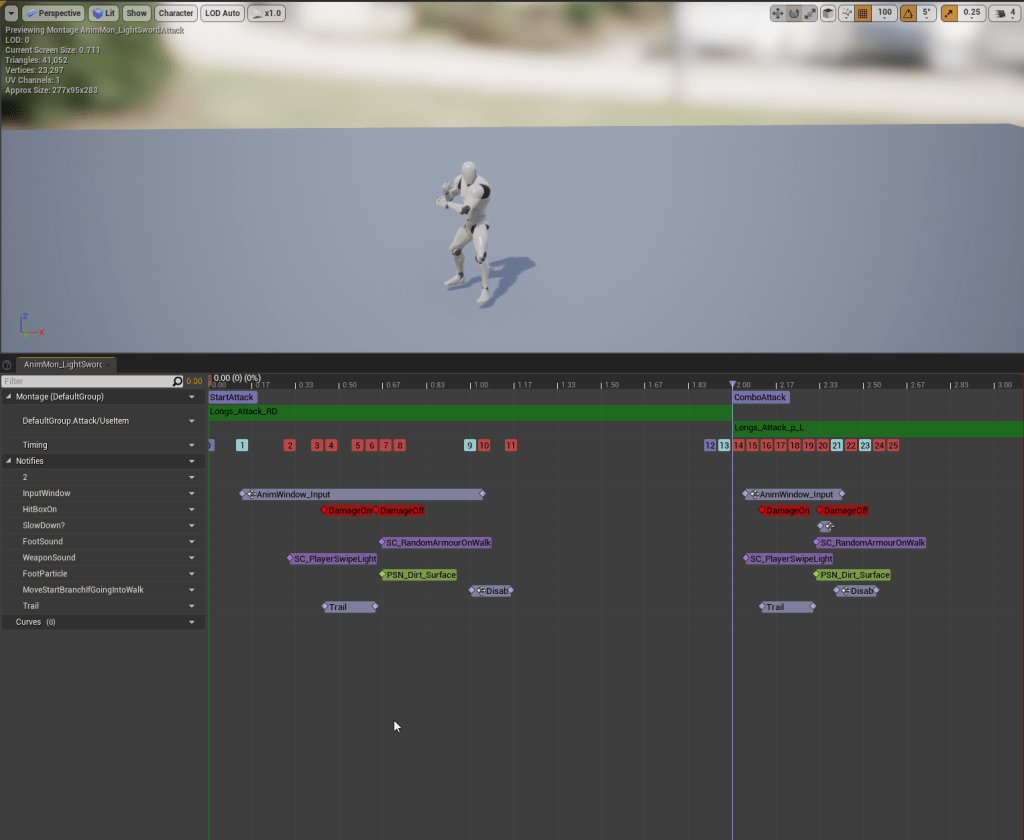
AnimMon_LightSwordAttack 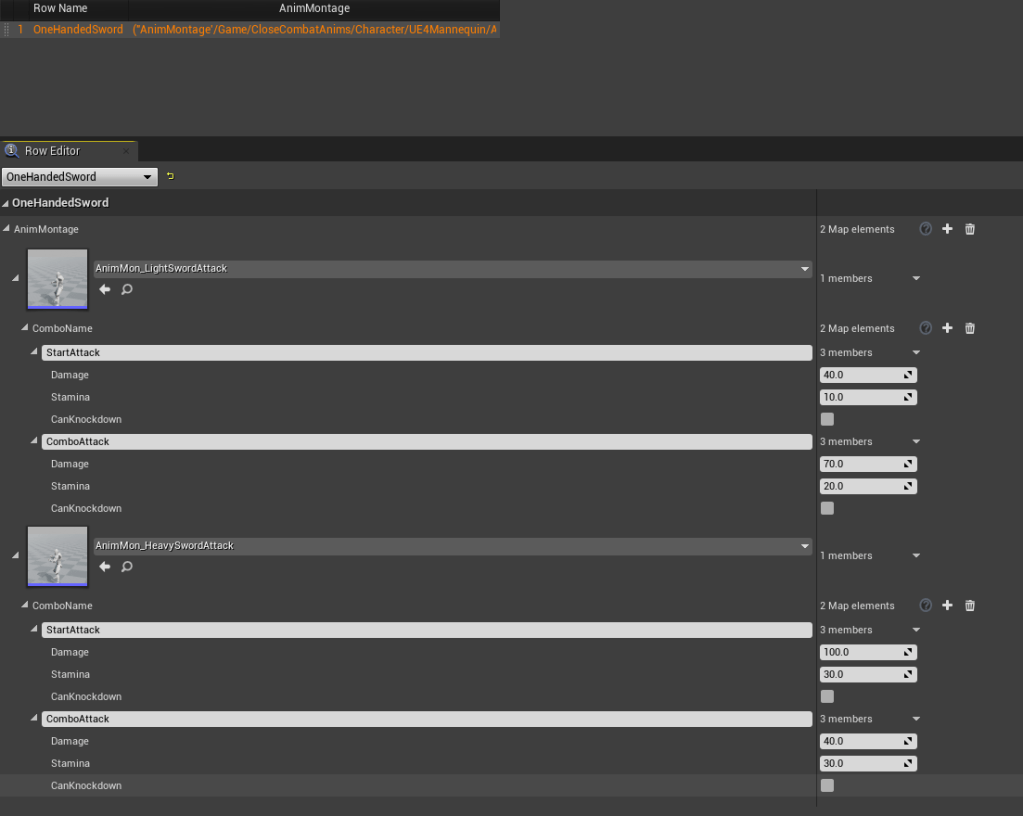
DT_PlayerAttackAnimations 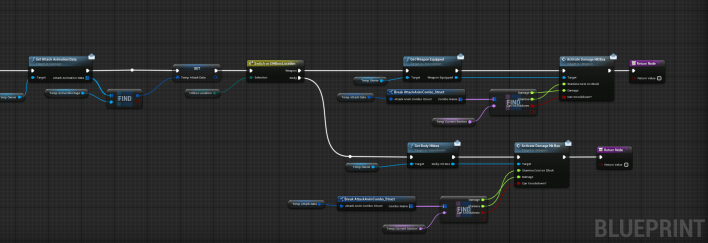
AnimNotify_DamageOn 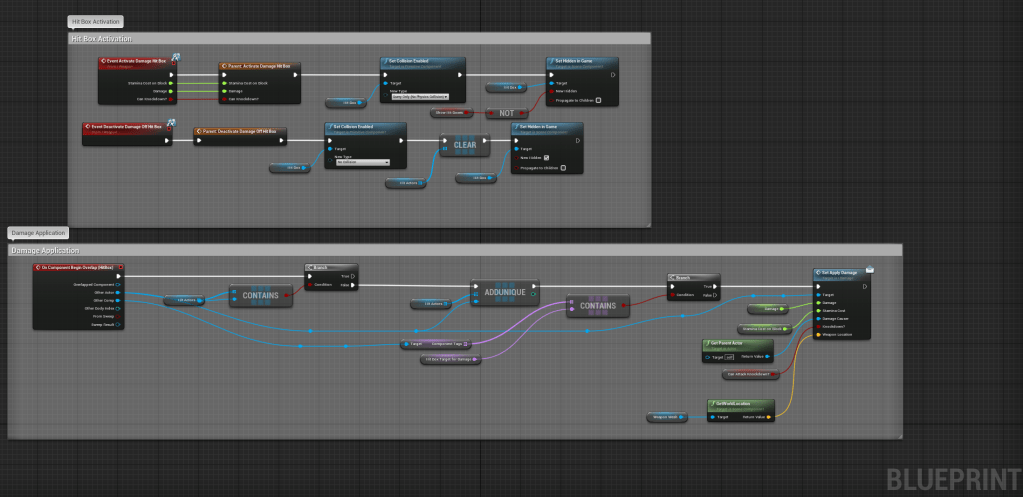
BP_BaseMeleeWeapon 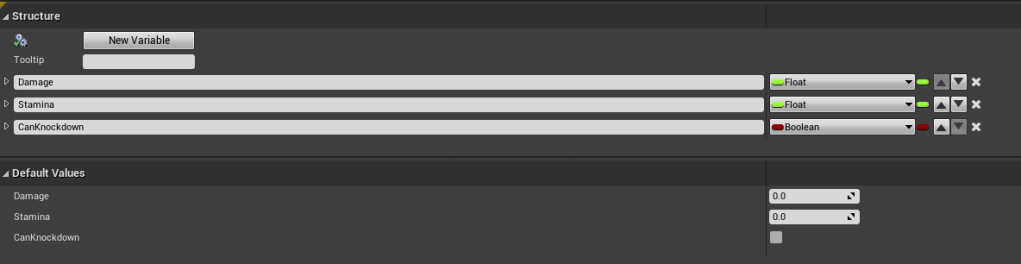
MontageStats_Struct
I did it this way as I knew that both my enemies and the player character would be requiring the exact same system. Also it could be very flexible in adding more parameters, in that perhaps I’d eventually want to add to what each of the animations affect. I could add to this via the MontageStats_Struct.
Editor Tools
To assist me during the level design process, I created various tools.
In a previous project I found it difficult to debug issues with a patrol due to it not being easy to figure out which enemy is attached, so I made a tool that would show it to me visually. This runs on Editor Utility Widget.
I also added a way to manually change the spawn location, which then also skips the intro scene into the level. This was useful for skipping ahead into further sections of the game.
The final tool was that I allowed for all enemy to have their perception disabled. This made it much easier to check the layout of the game without having to deal with the fights themselves.
In Game Tools
For debugging in game, I created a suite of tools. I felt this was necessary for both the testing as well as for assistance when checking if a feature is performing correctly.
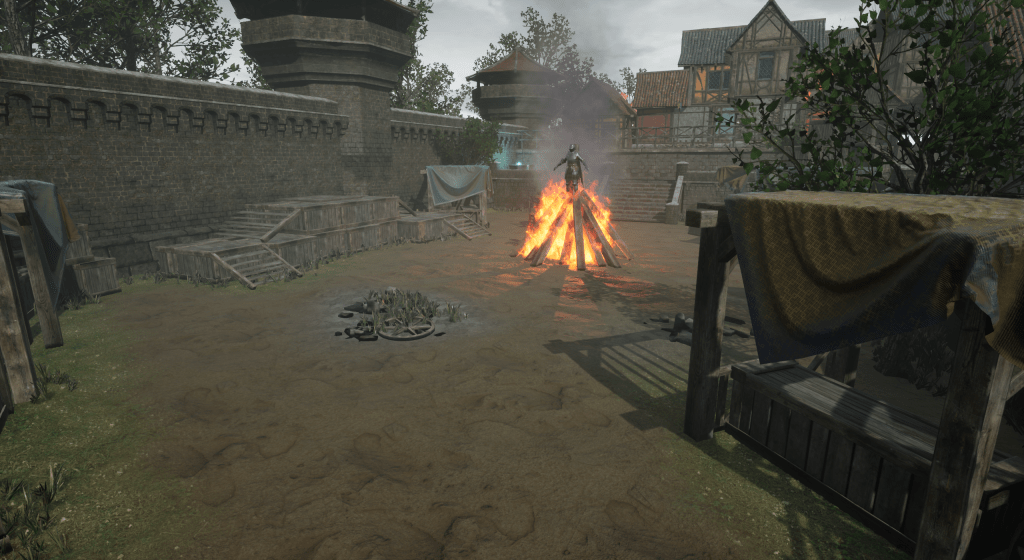
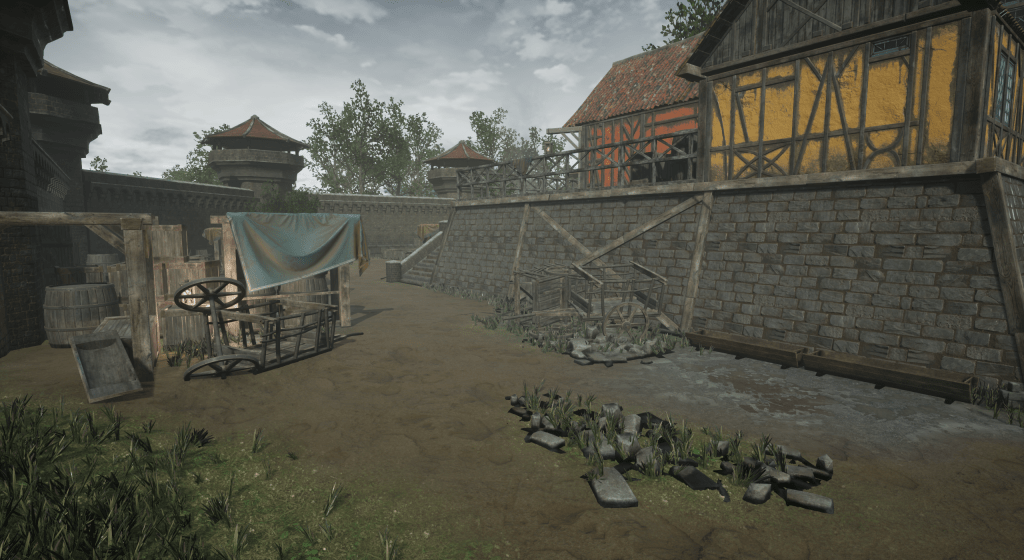
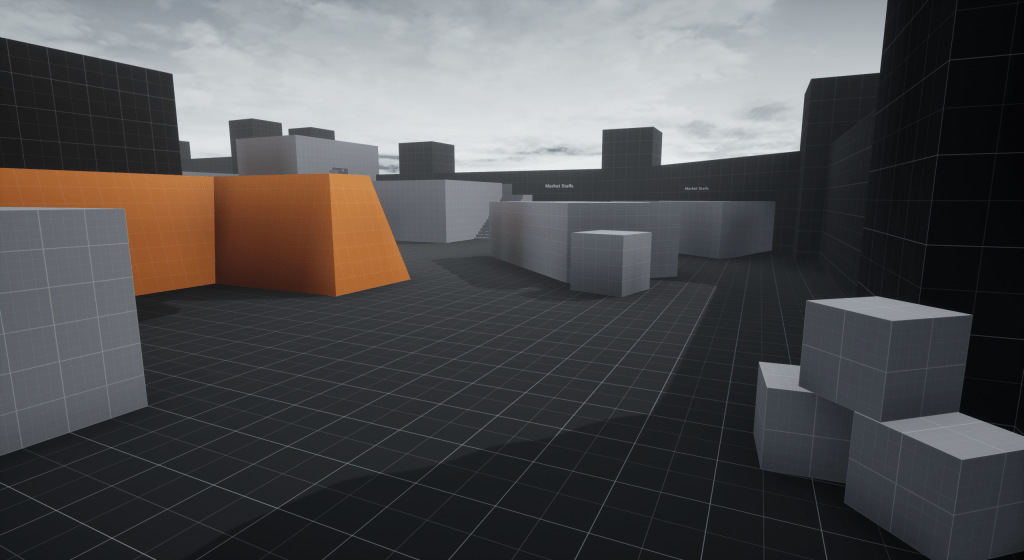
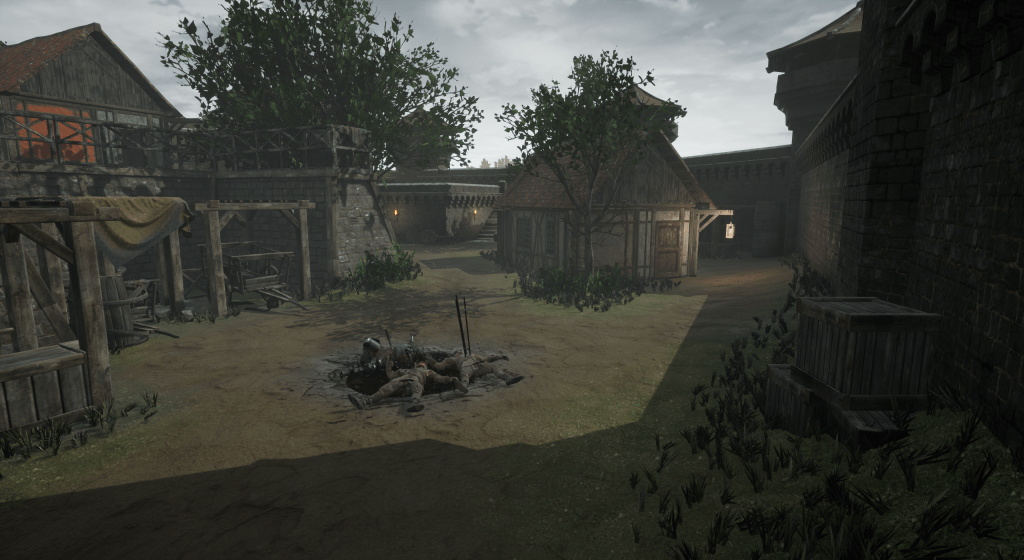
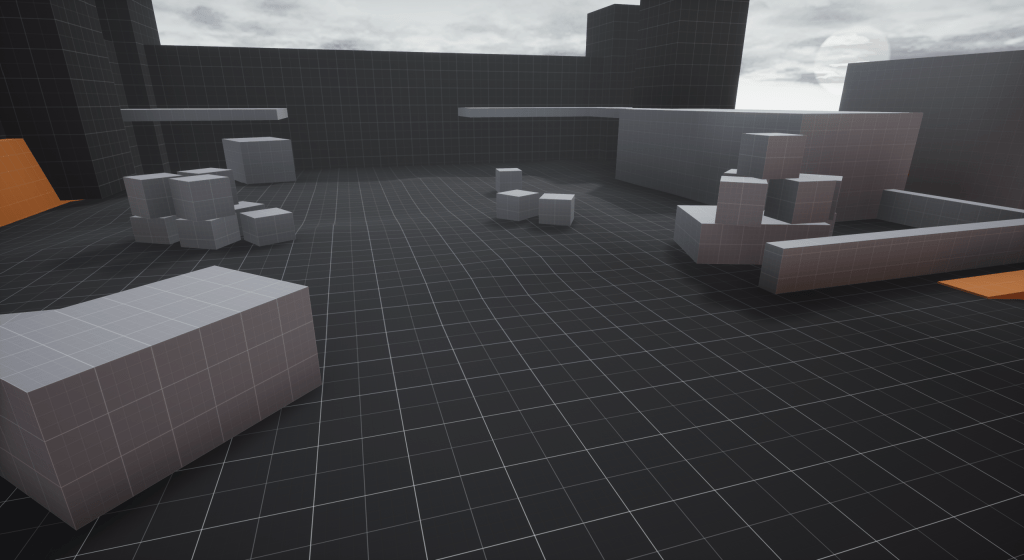
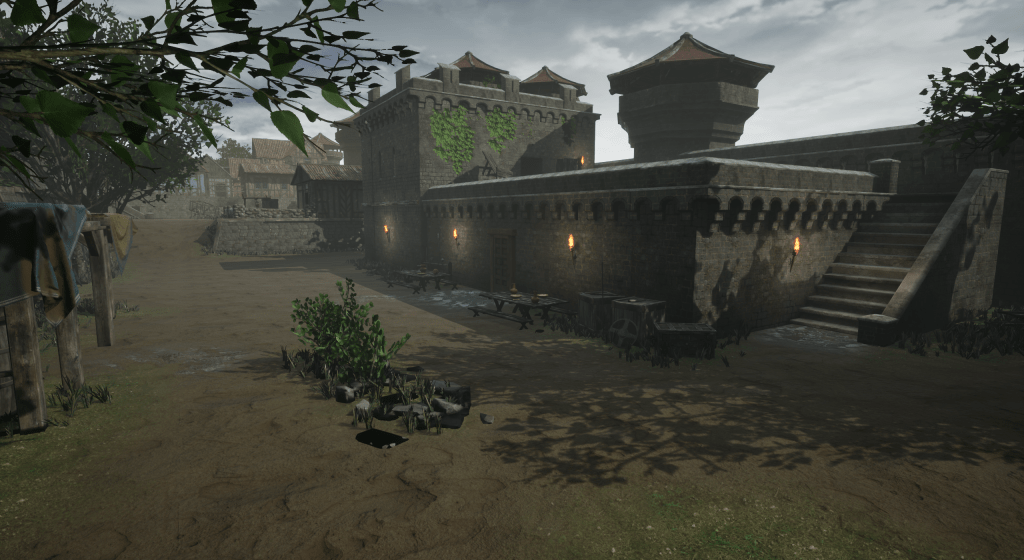
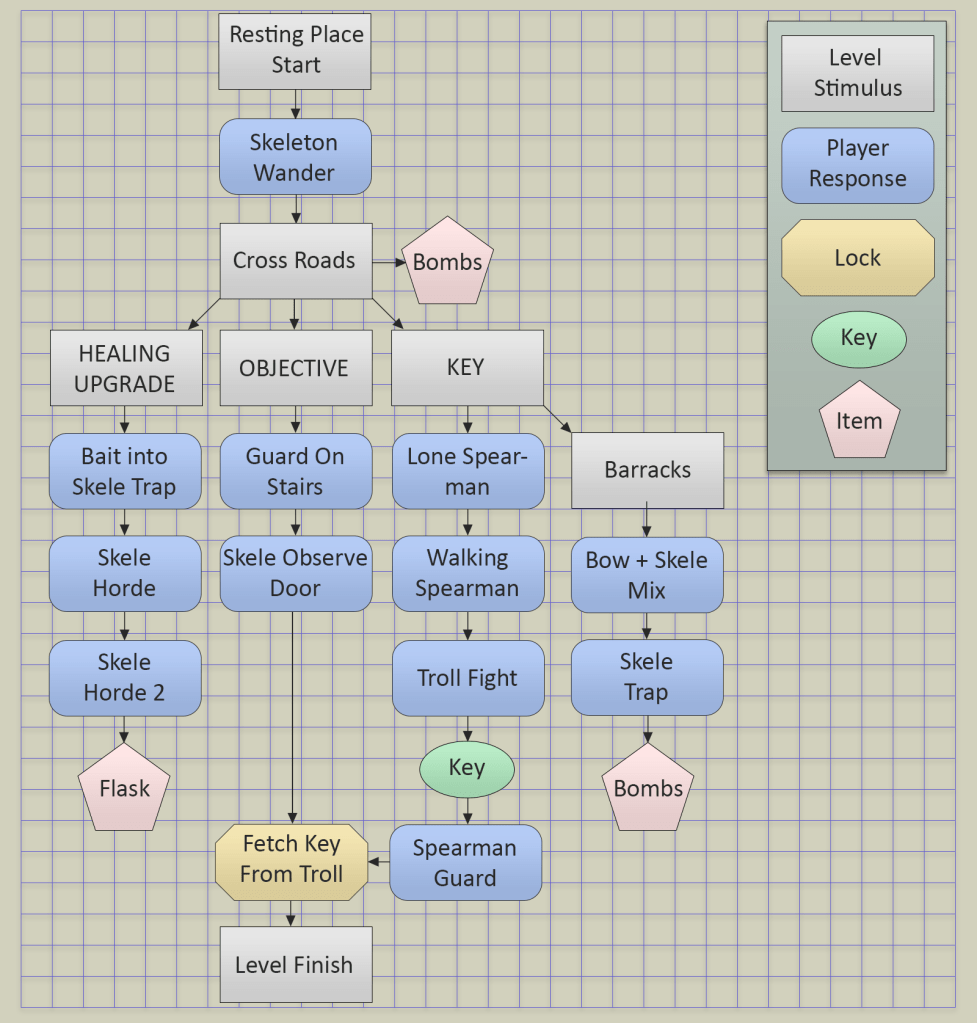
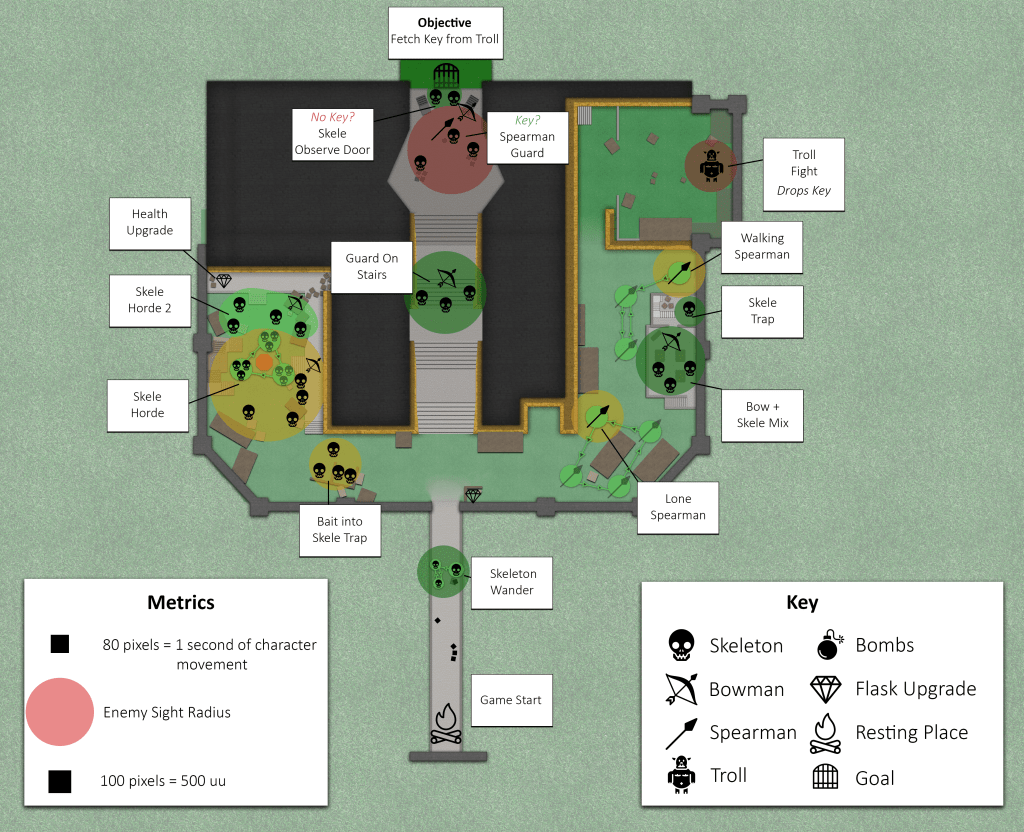
Level Design
I created a level for the project, so as to show my mechanics in real gameplay encounters. The video below demonstrates a full playthrough.
All the applicable documentation for the level can be found in the button below, with a few images underneath that.
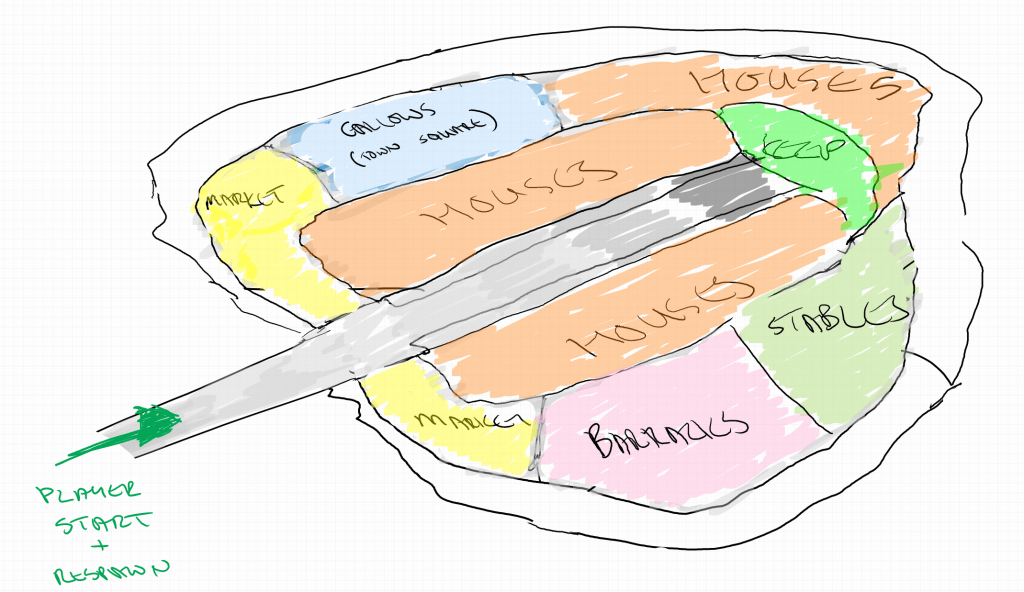
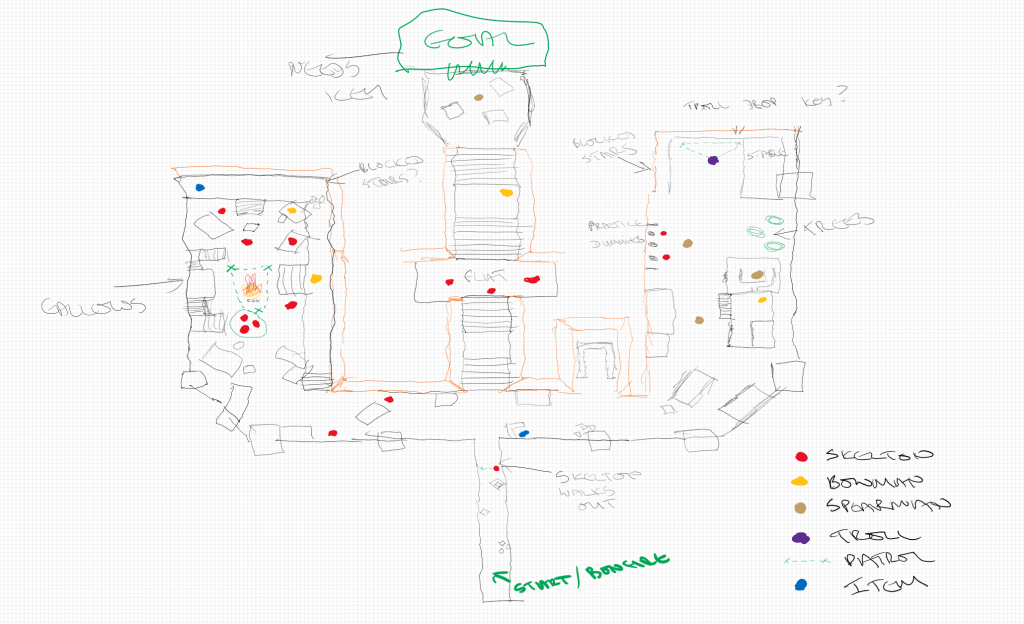
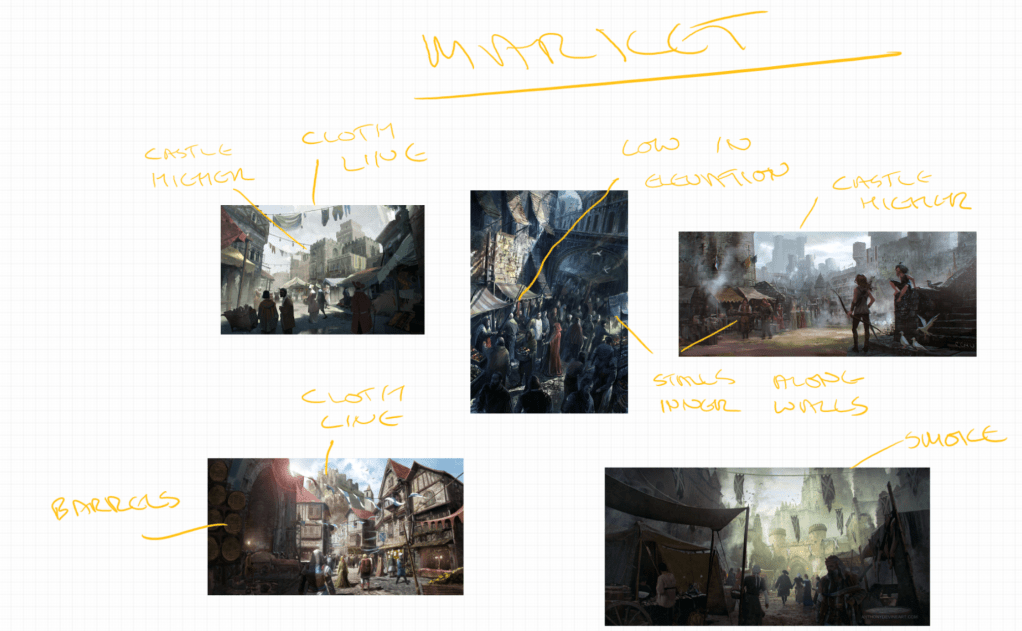


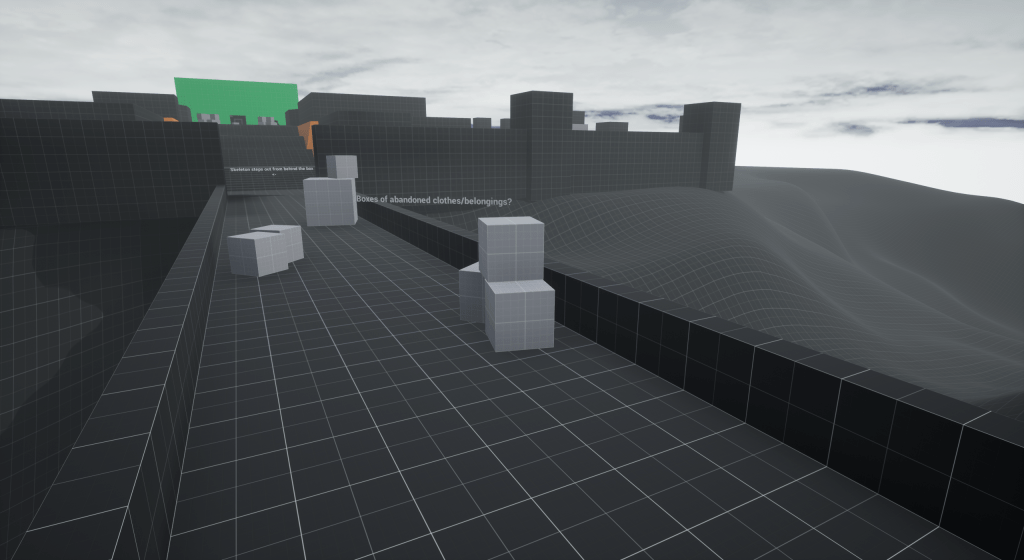
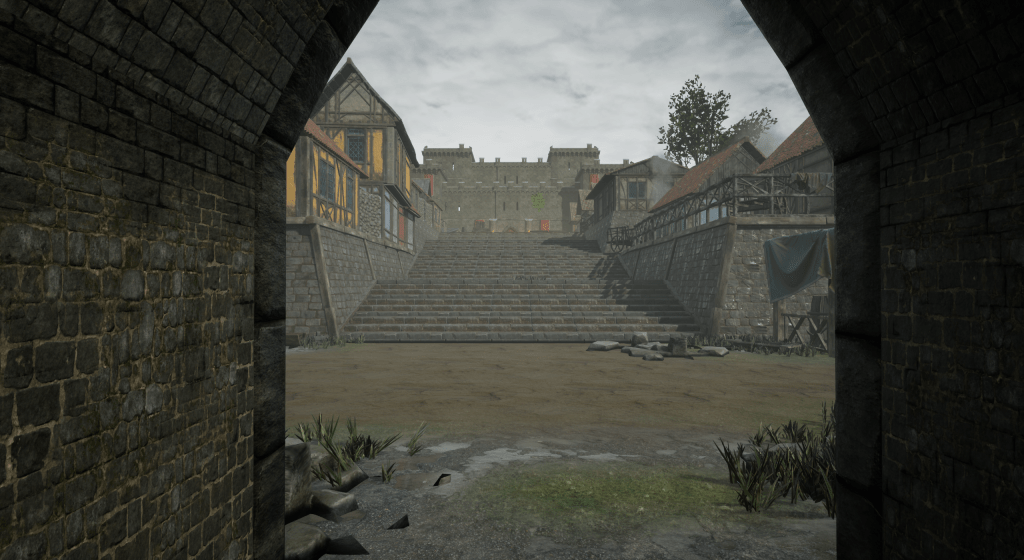
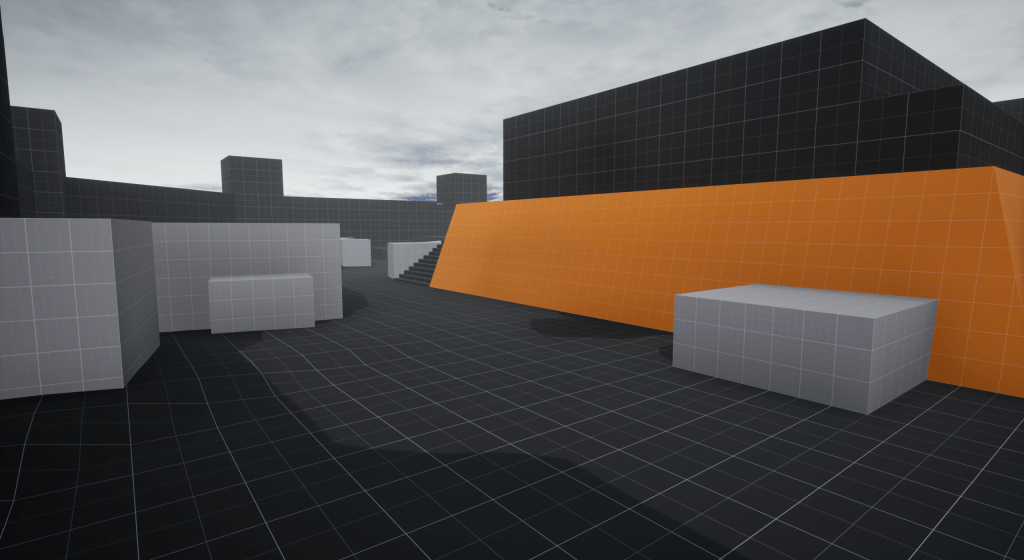
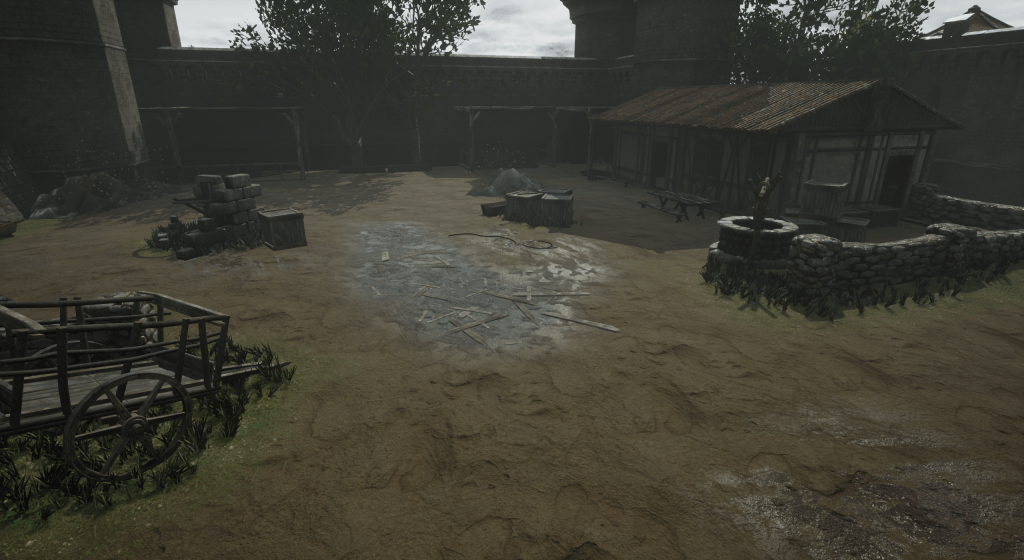
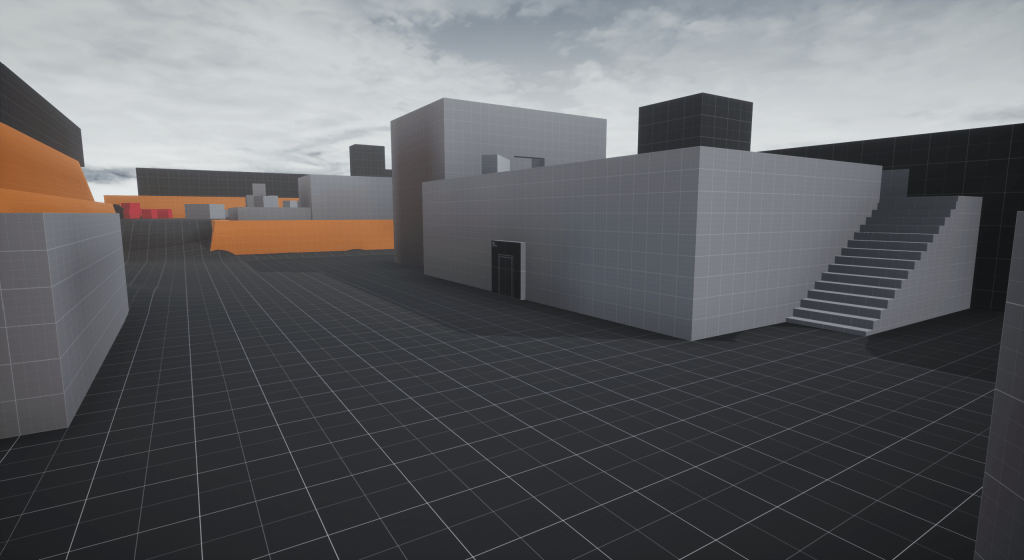
My level began in a Greybox phase before I started to add art assets. You can see how I added these elements, with before and after shots in the galley below.